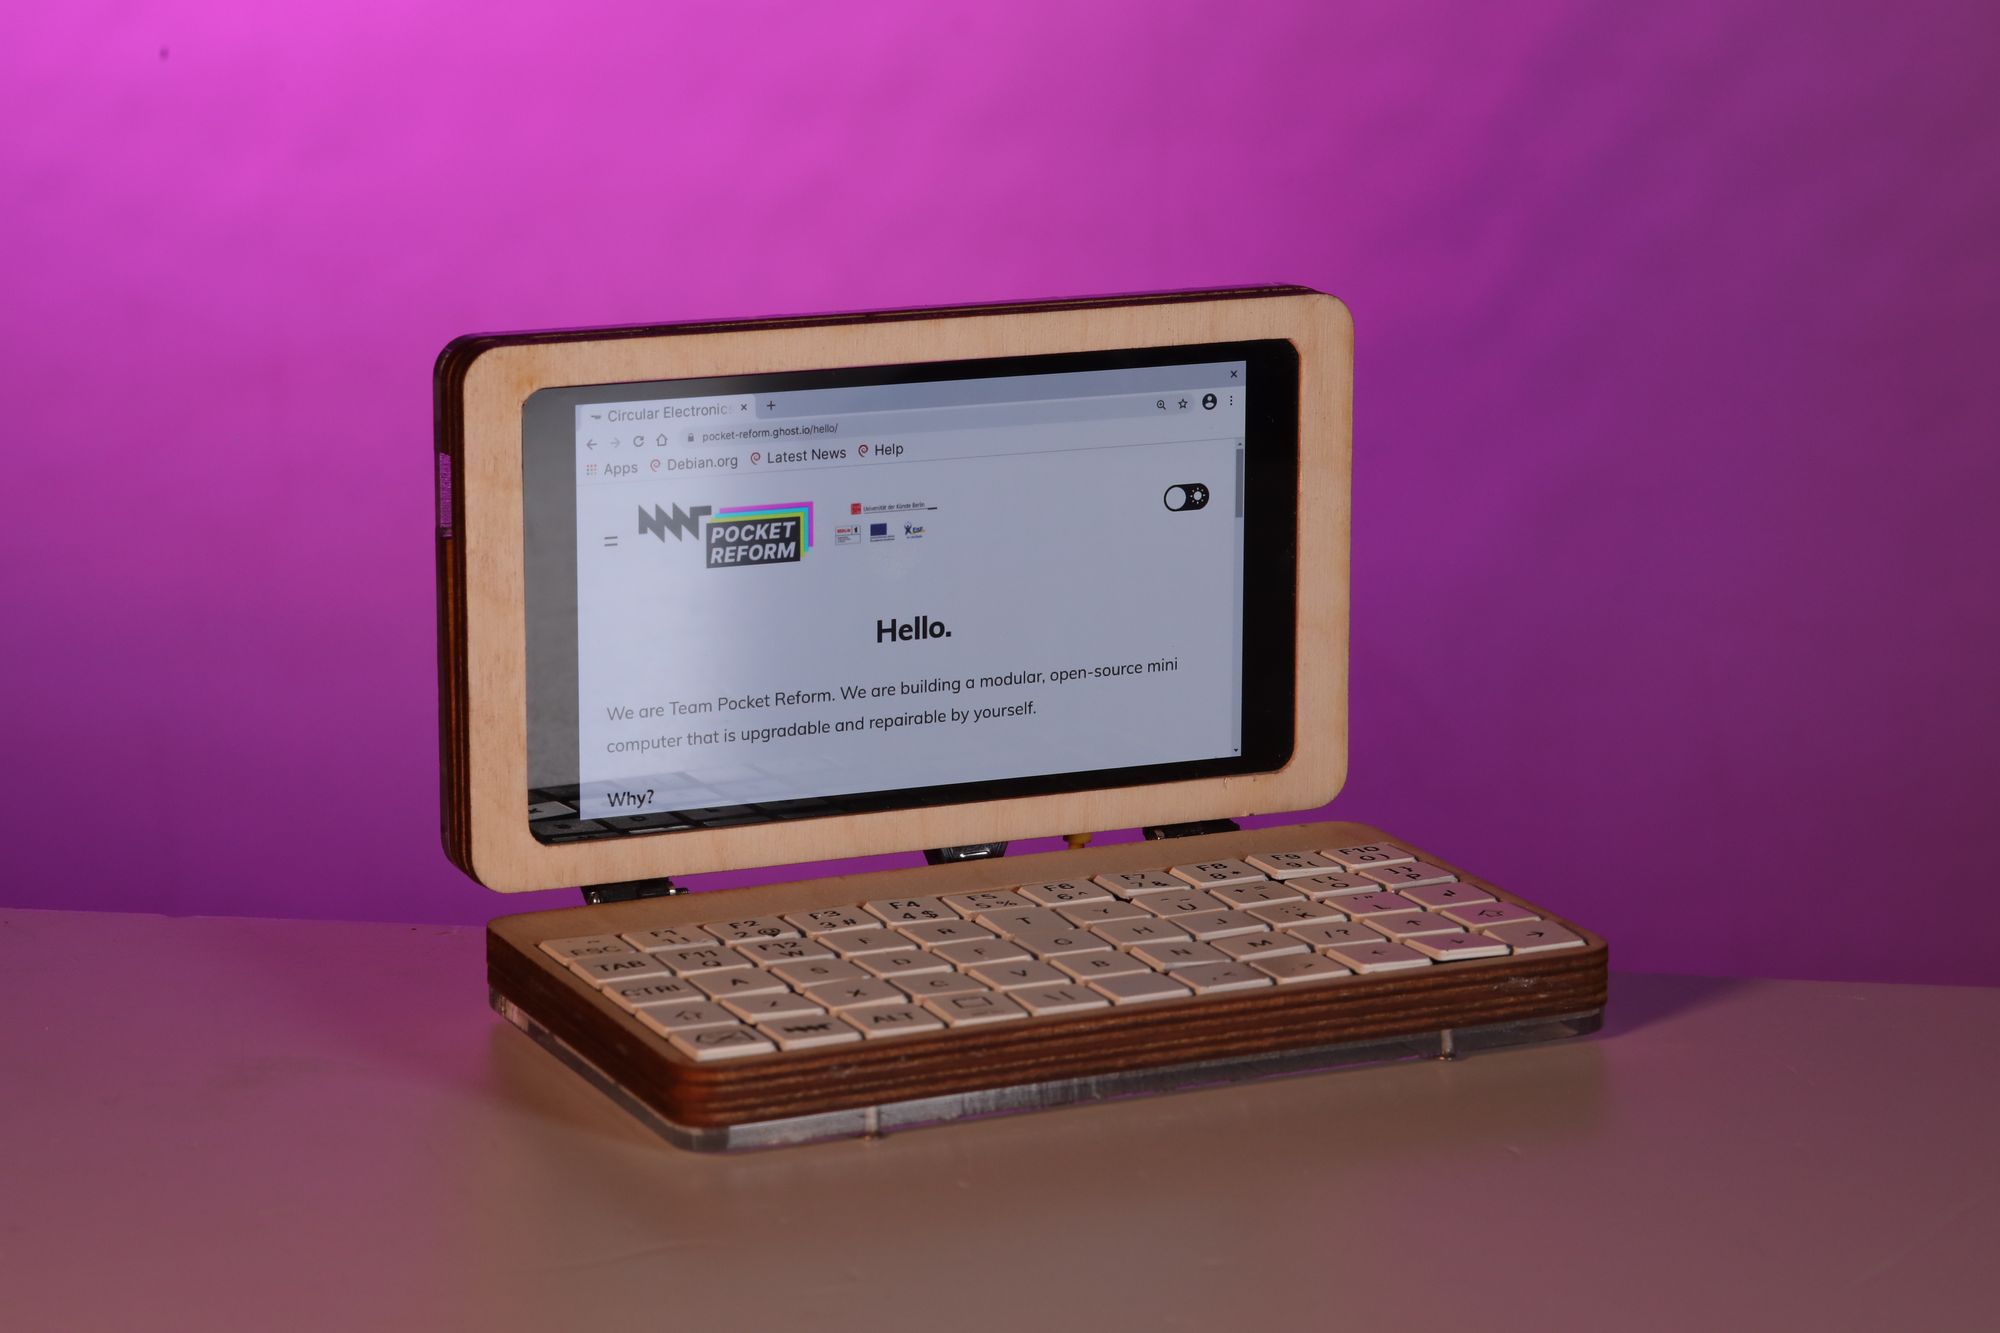
First semi-functional Prototype
In order to get to the final version of Pocket Reform we are making several prototypes of the product in between which help us to define appearance, functions and specific features.
Each prototype is valiantly tested by our users and with their help and feedback we’re ready to iterate and create the next prototype version which is then tested again.
This agile approach makes it easy to apply changes due to the user needs and feedback and to validate the concept even before the product is launched.
Each prototype is created to answer specific questions. Before we created the semi-functional one we have done a bunch of low-fidelity prototypes and tests to limit the size of keyboard and screen. (link to other post)
The look and feel of this semi-functional prototype already gets close to the real product which helps us test different use cases and scenarios.
Material and Requirements
As our approach is open and circular we not only have specific requirements for the final version of Pocket Reform but also for building prototypes. While prototyping we always try to use what’s already there. For the obvious reason of saving precious time and money but also for saving resources. As we’re working from Motion Lab, a huge MakerSpace in Berlin, we are always able to find various leftover materials. For the current prototype housing we found plywood leftovers as well as some transparent acrylic leftovers, so we decided to go for wood and acrylic for the housing. Wood brings a warm, natural feeling to the prototype and visually it points out that Pocket Reform as an electronic device is different from what is offered in the mainstream market. The transparent aspect of acrylic supports our idea of open hardware in terms of the design as well as in terms of repairability as it appears inviting and easy to open. To add on this the prototype was built without any glue but with M2 screws only, so it can be assembled with one screwdriver.
Prototyping Process
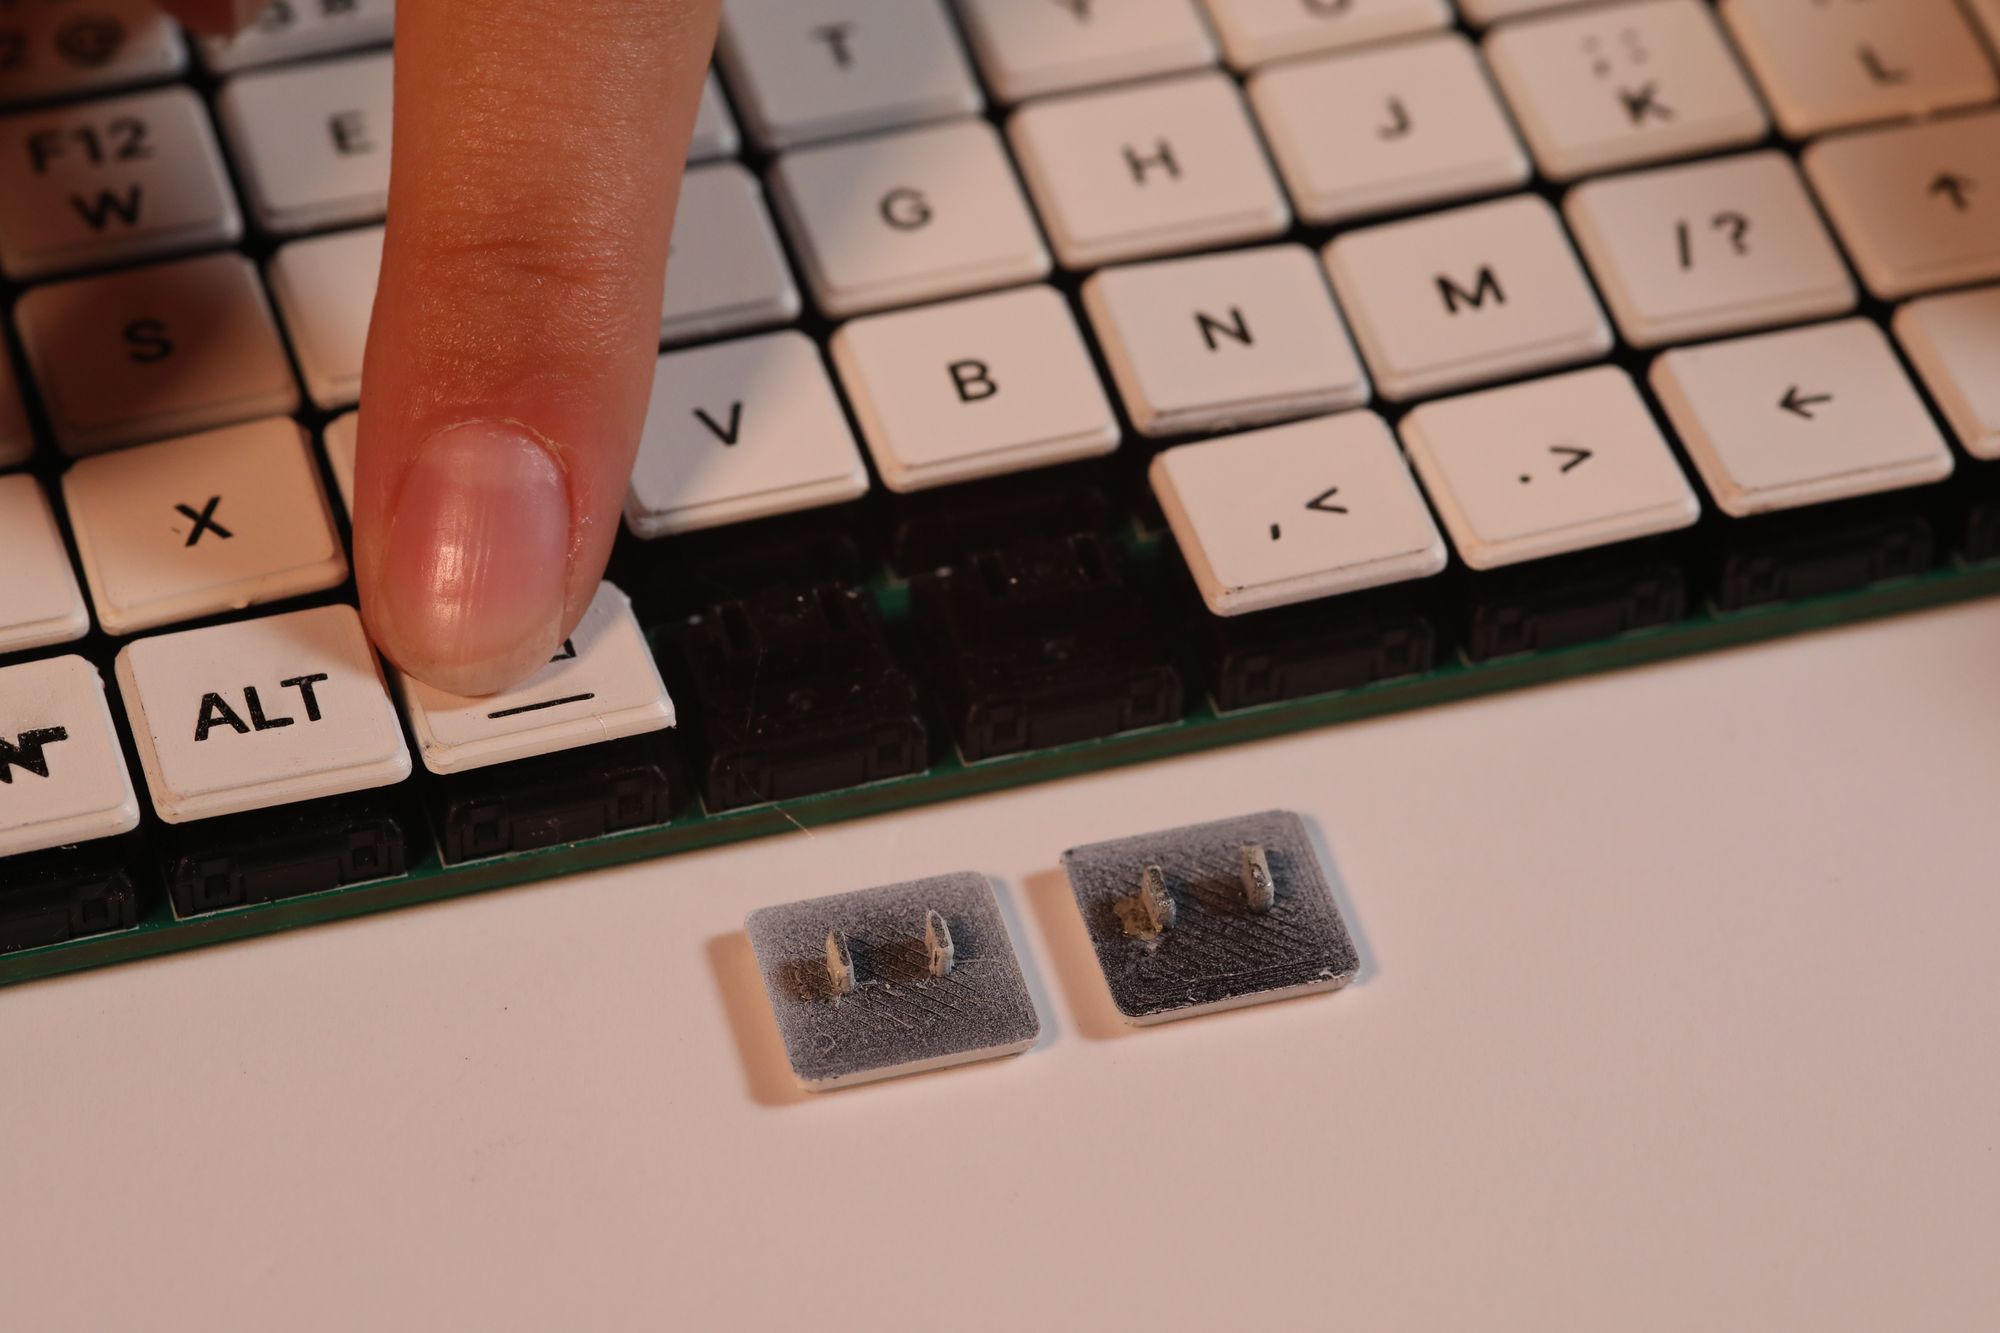
Keycaps
We were printing the keycaps with Sigma, an FDM 3D printer in the MNT headquarter in black from PLA, a biodegradable plastic that is also recyclable. After that we had to double check if the caps were fitting the way we imagined it, spray painted every single one with white colour and engraved the symbols with a laser in MotionLab.
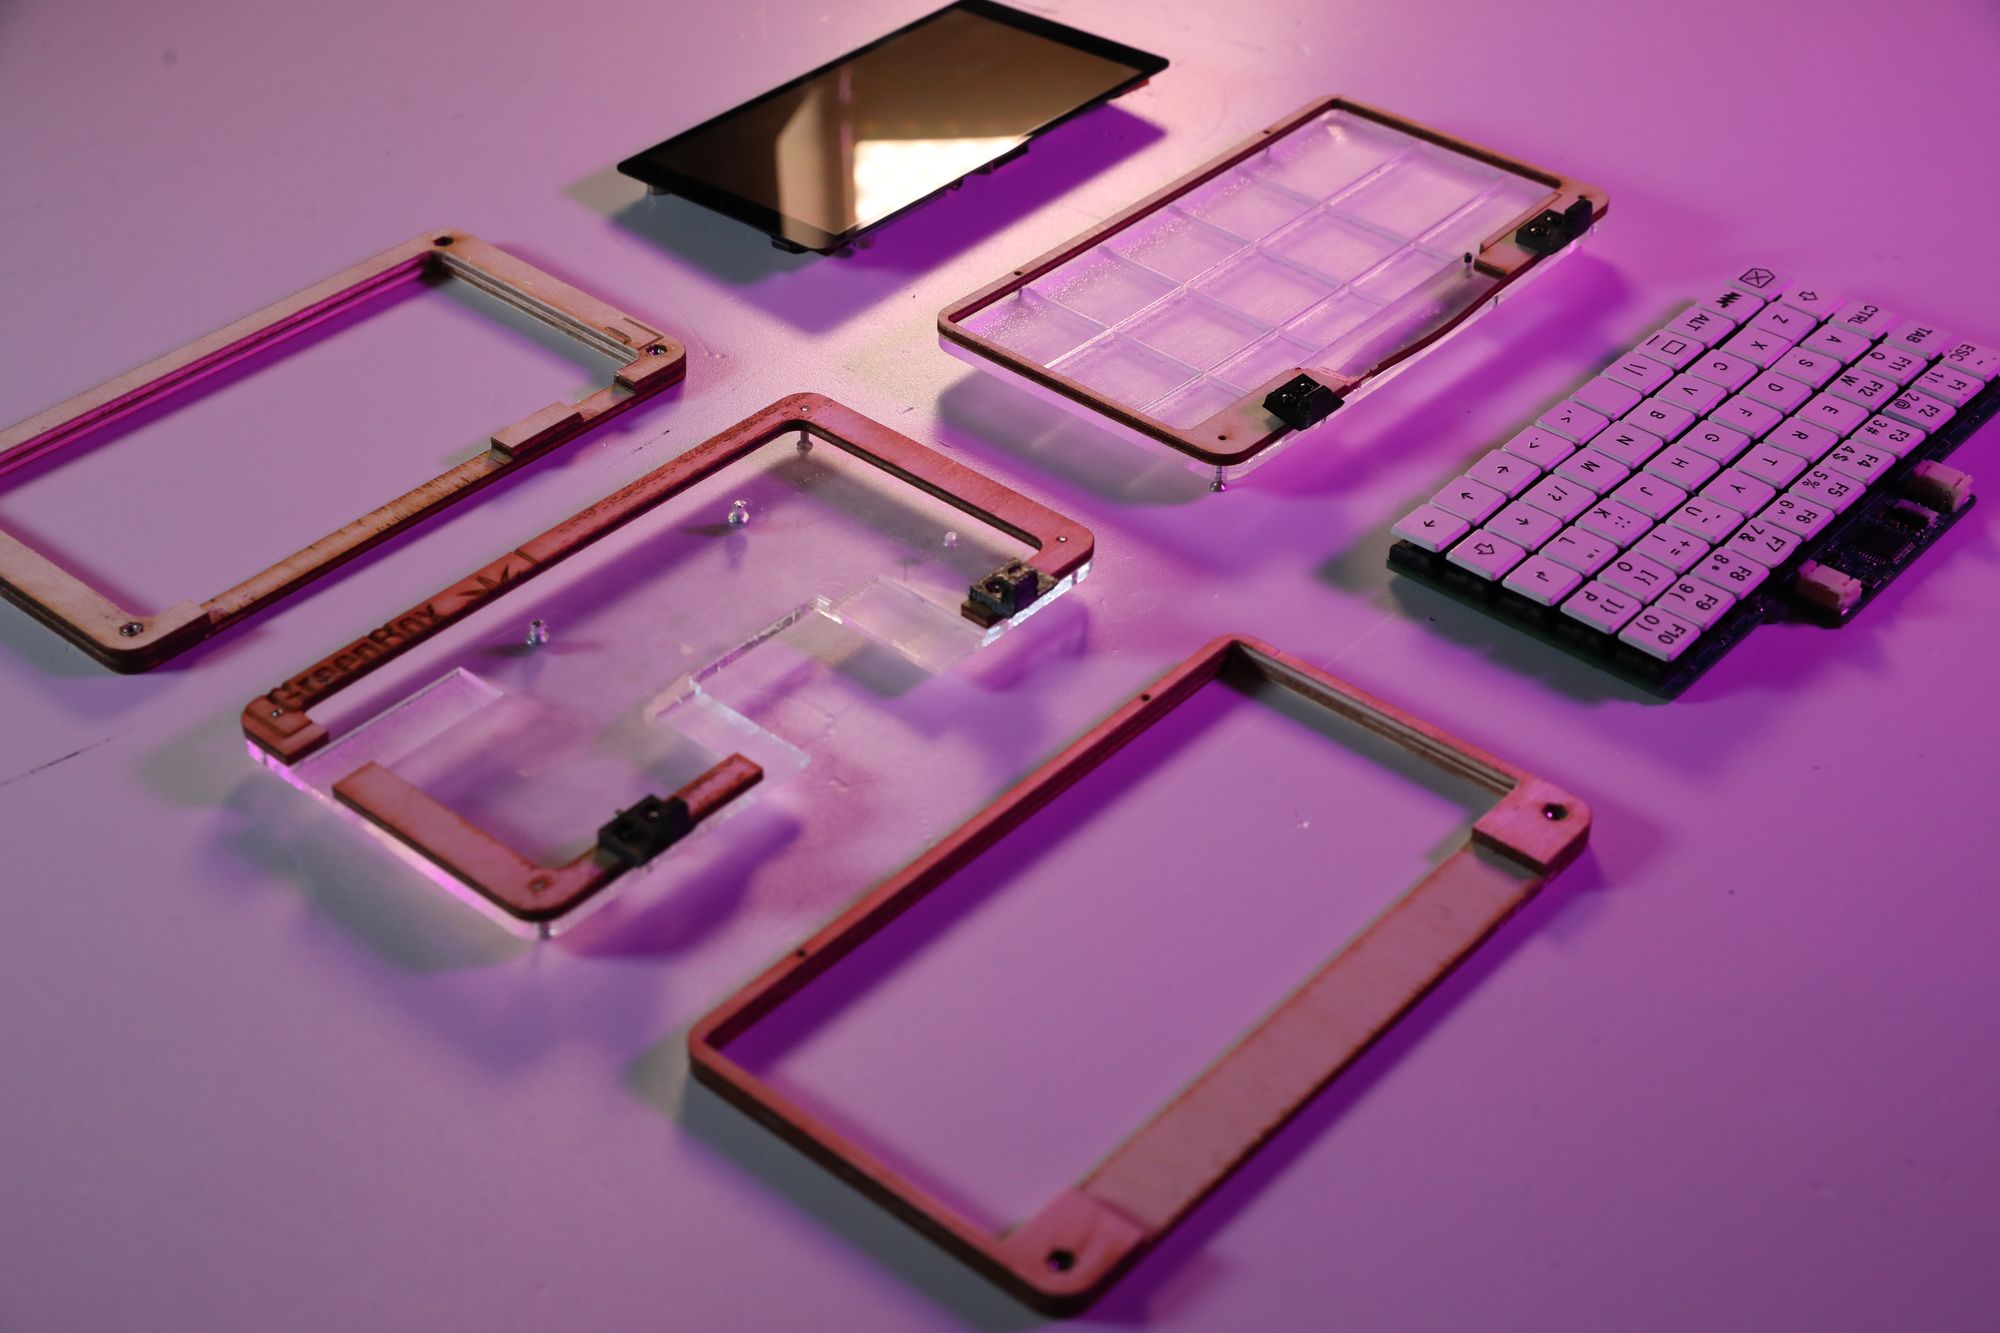
Enclosure
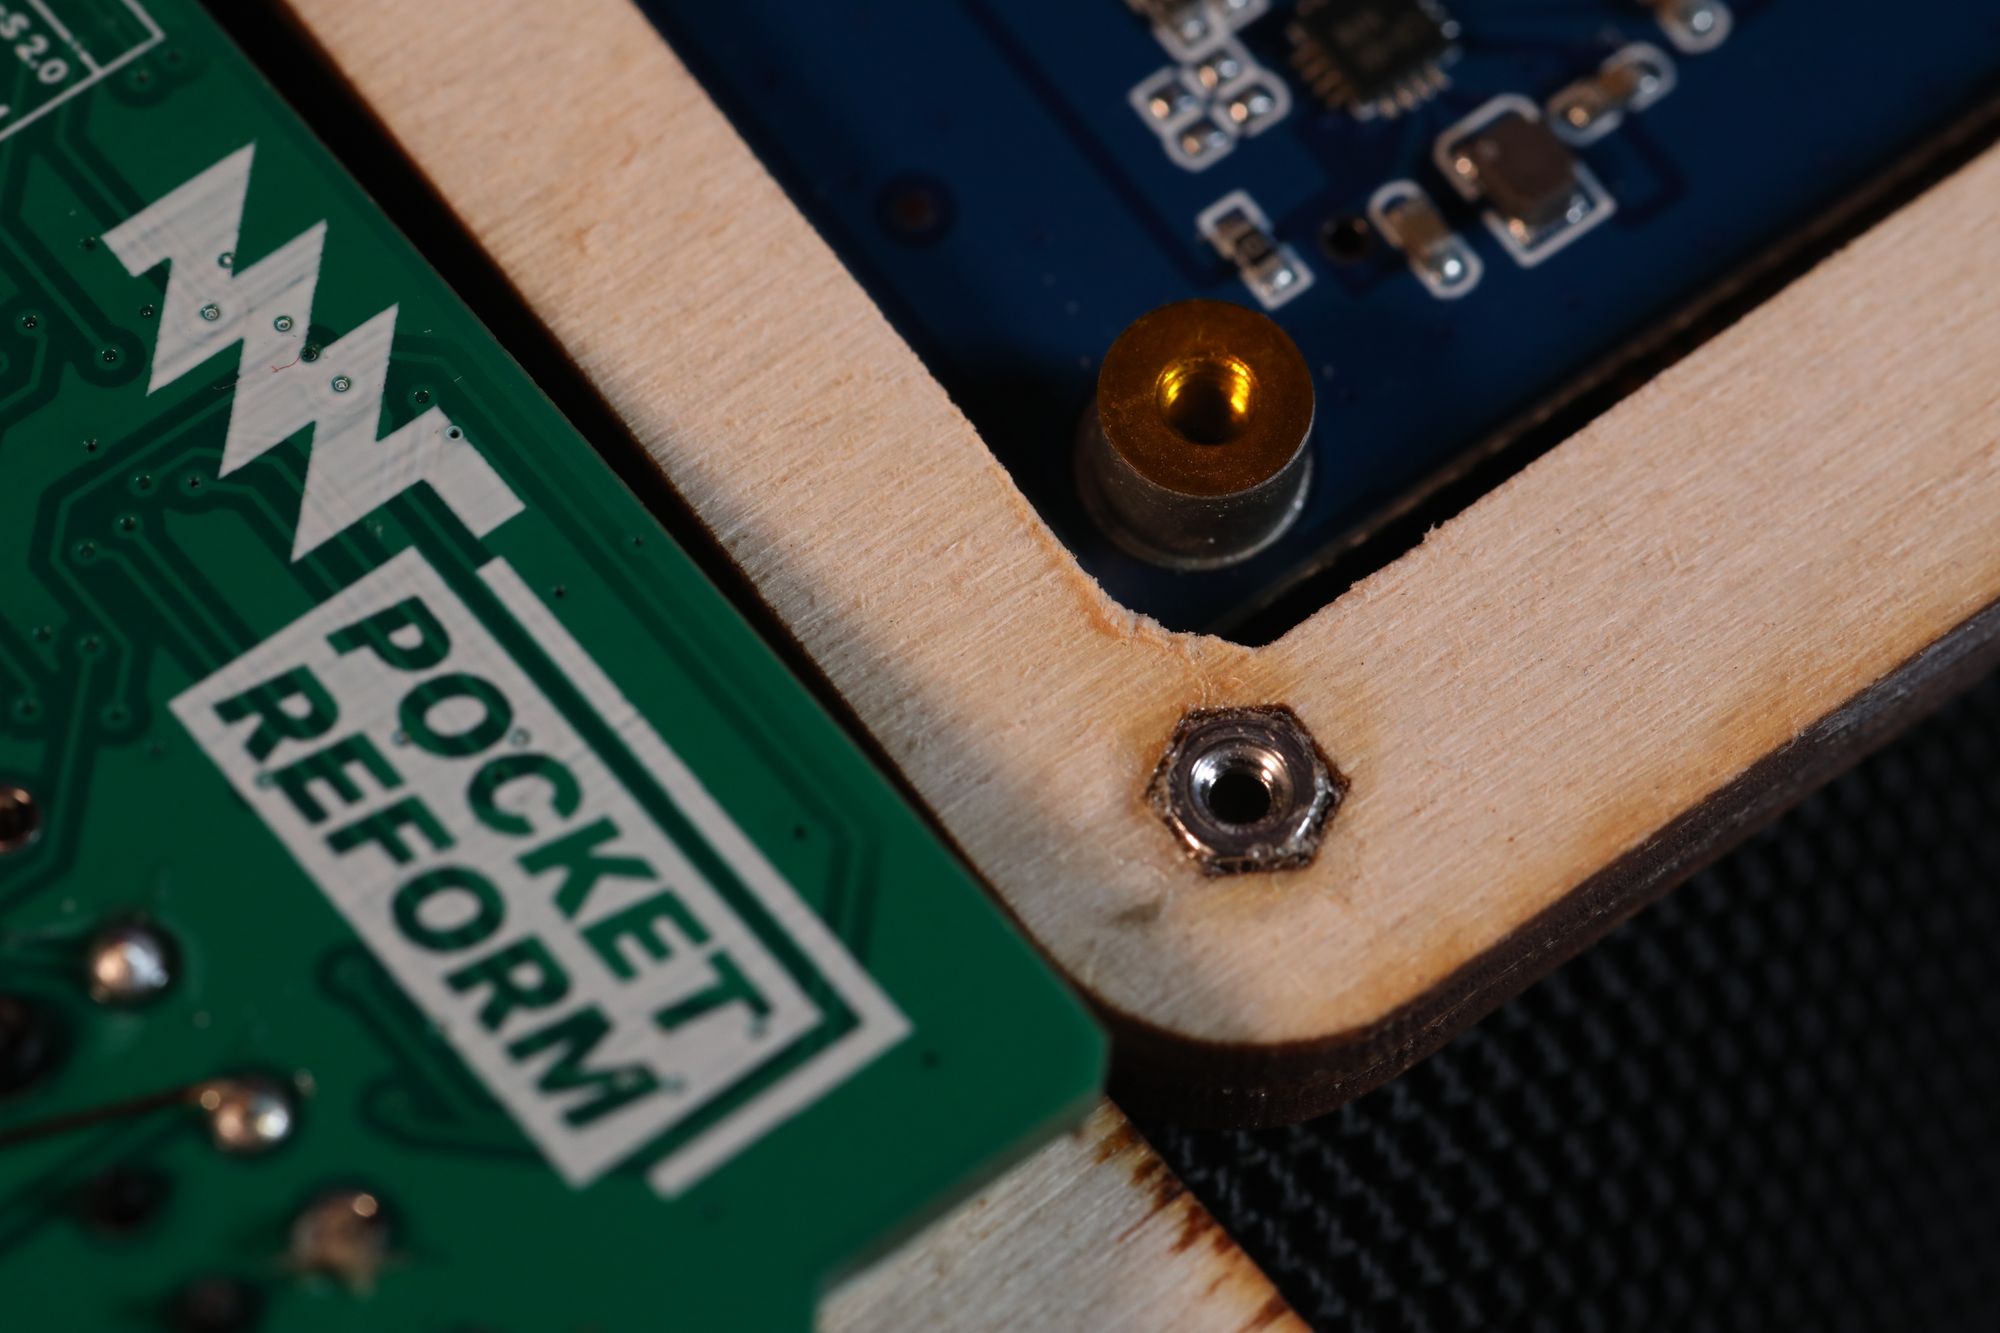
The housing of our semi-functional prototype consists of three layers of 3mm plywood which are joined together with a 20 mm M2 screw and one layer of 4mm acrylic plate.
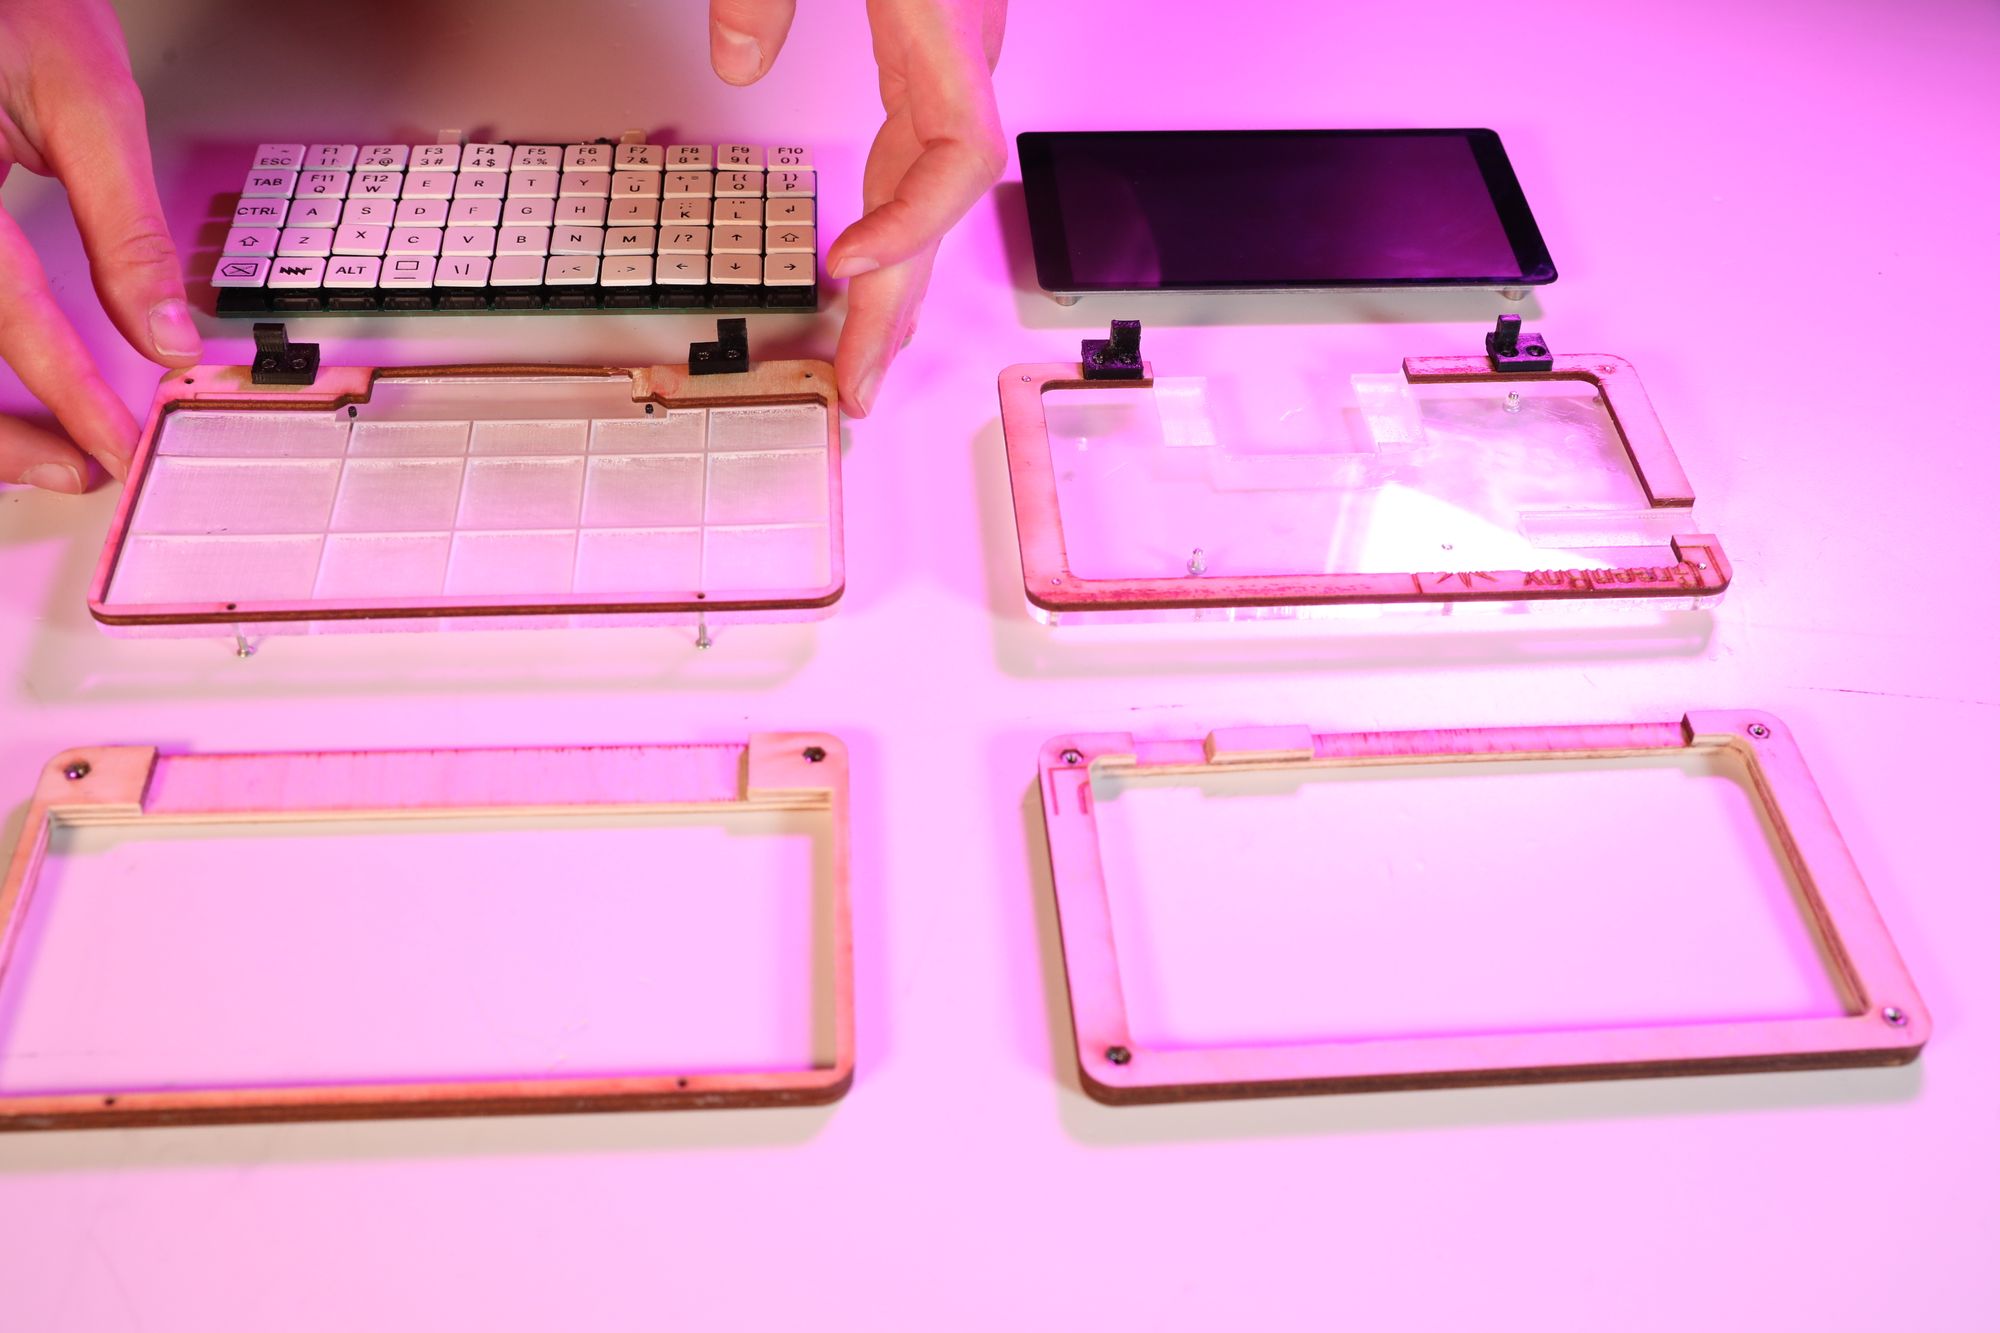
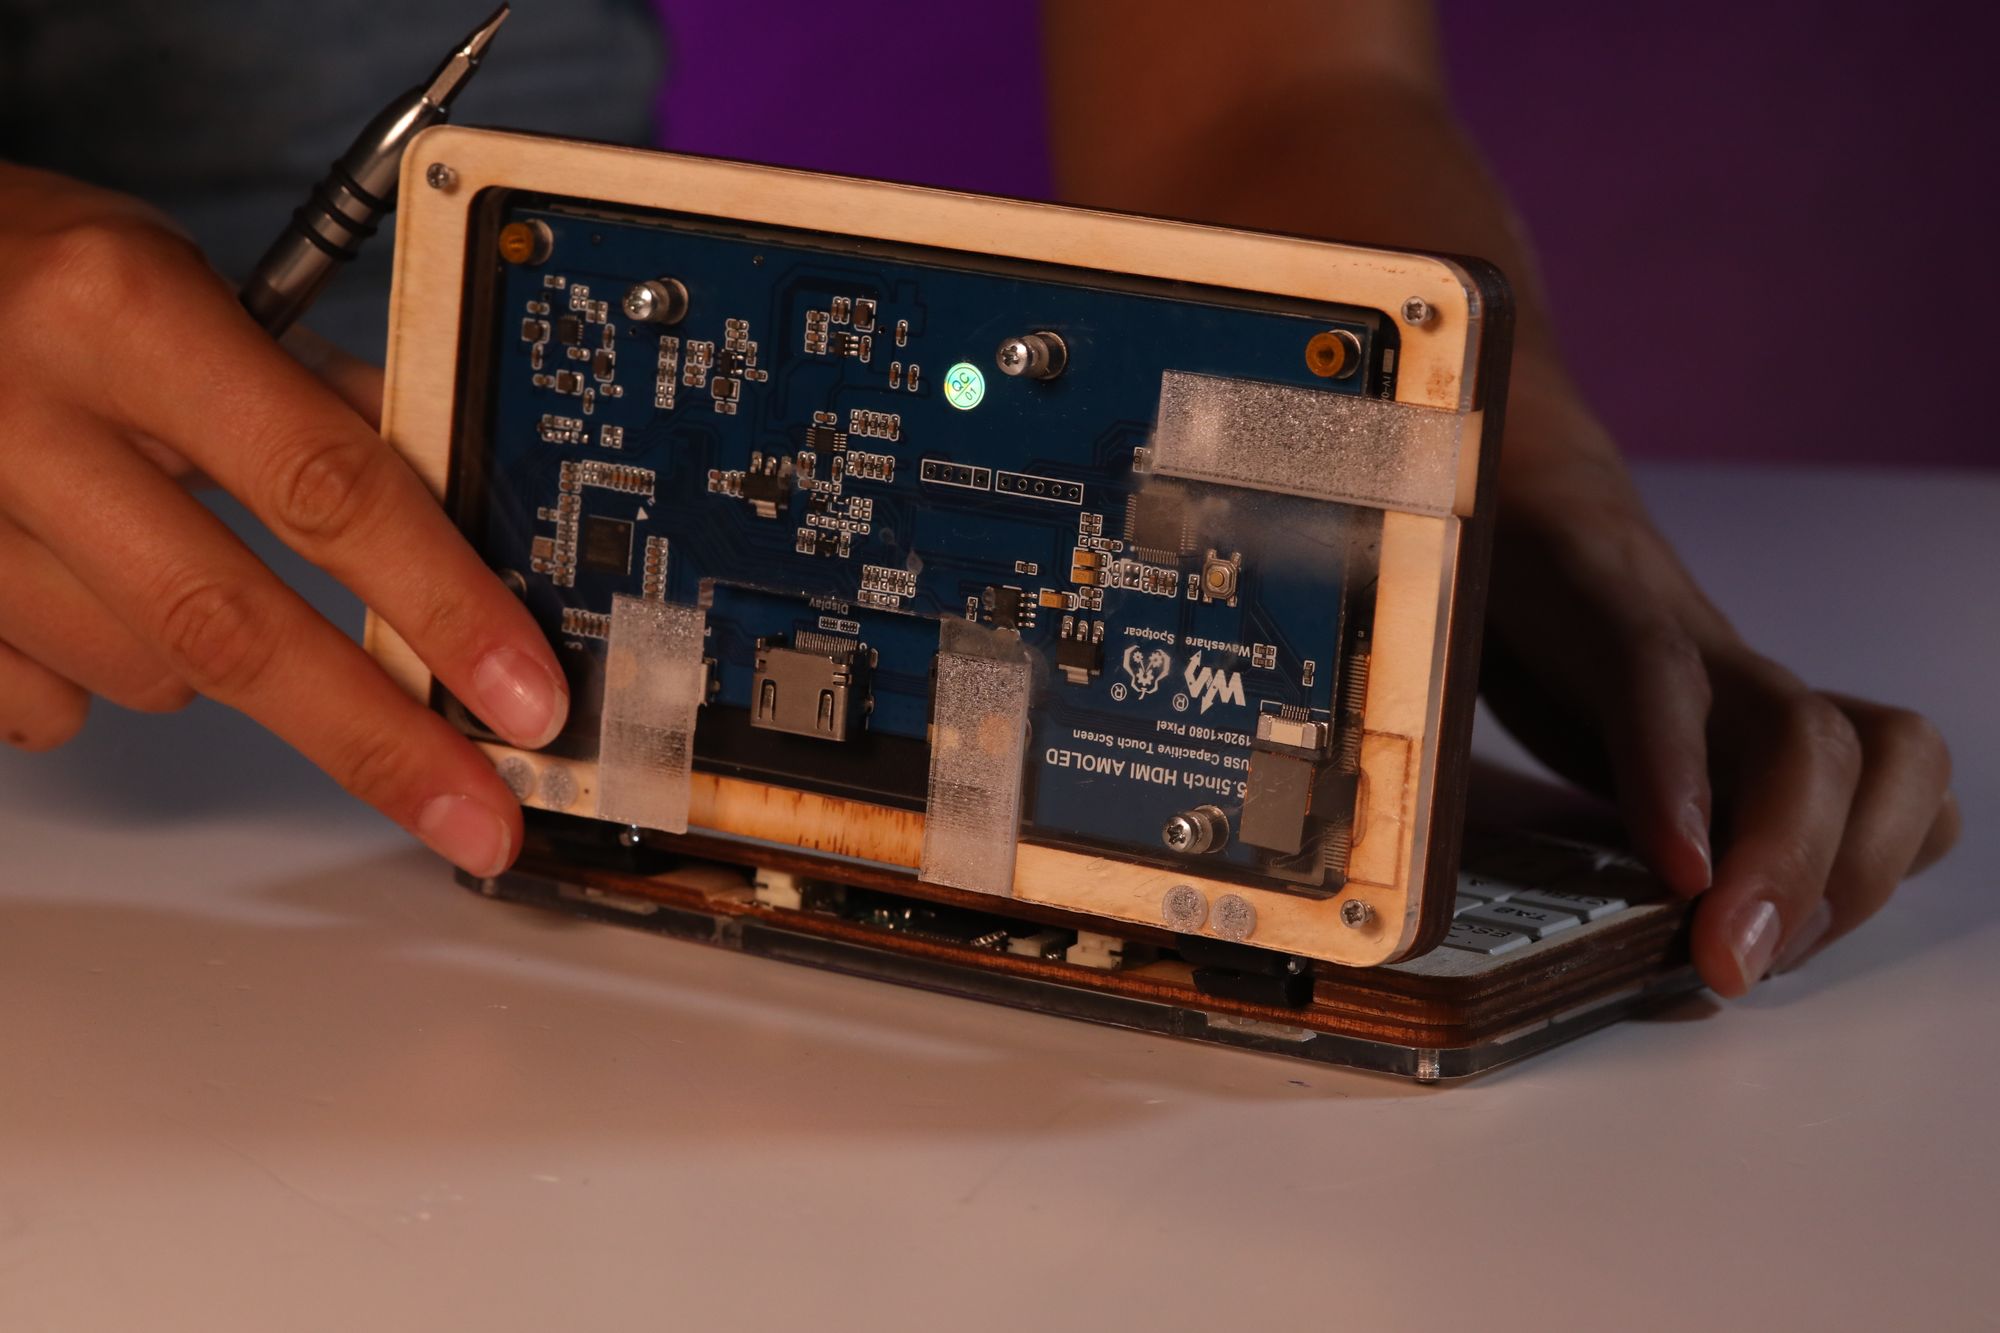
We laser cut the different layers for the top and bottom part of the enclosure to implement keyboard and screen and engraved the acrylic board with high power and low speed, in order to make some cutouts for the keyboard pins.
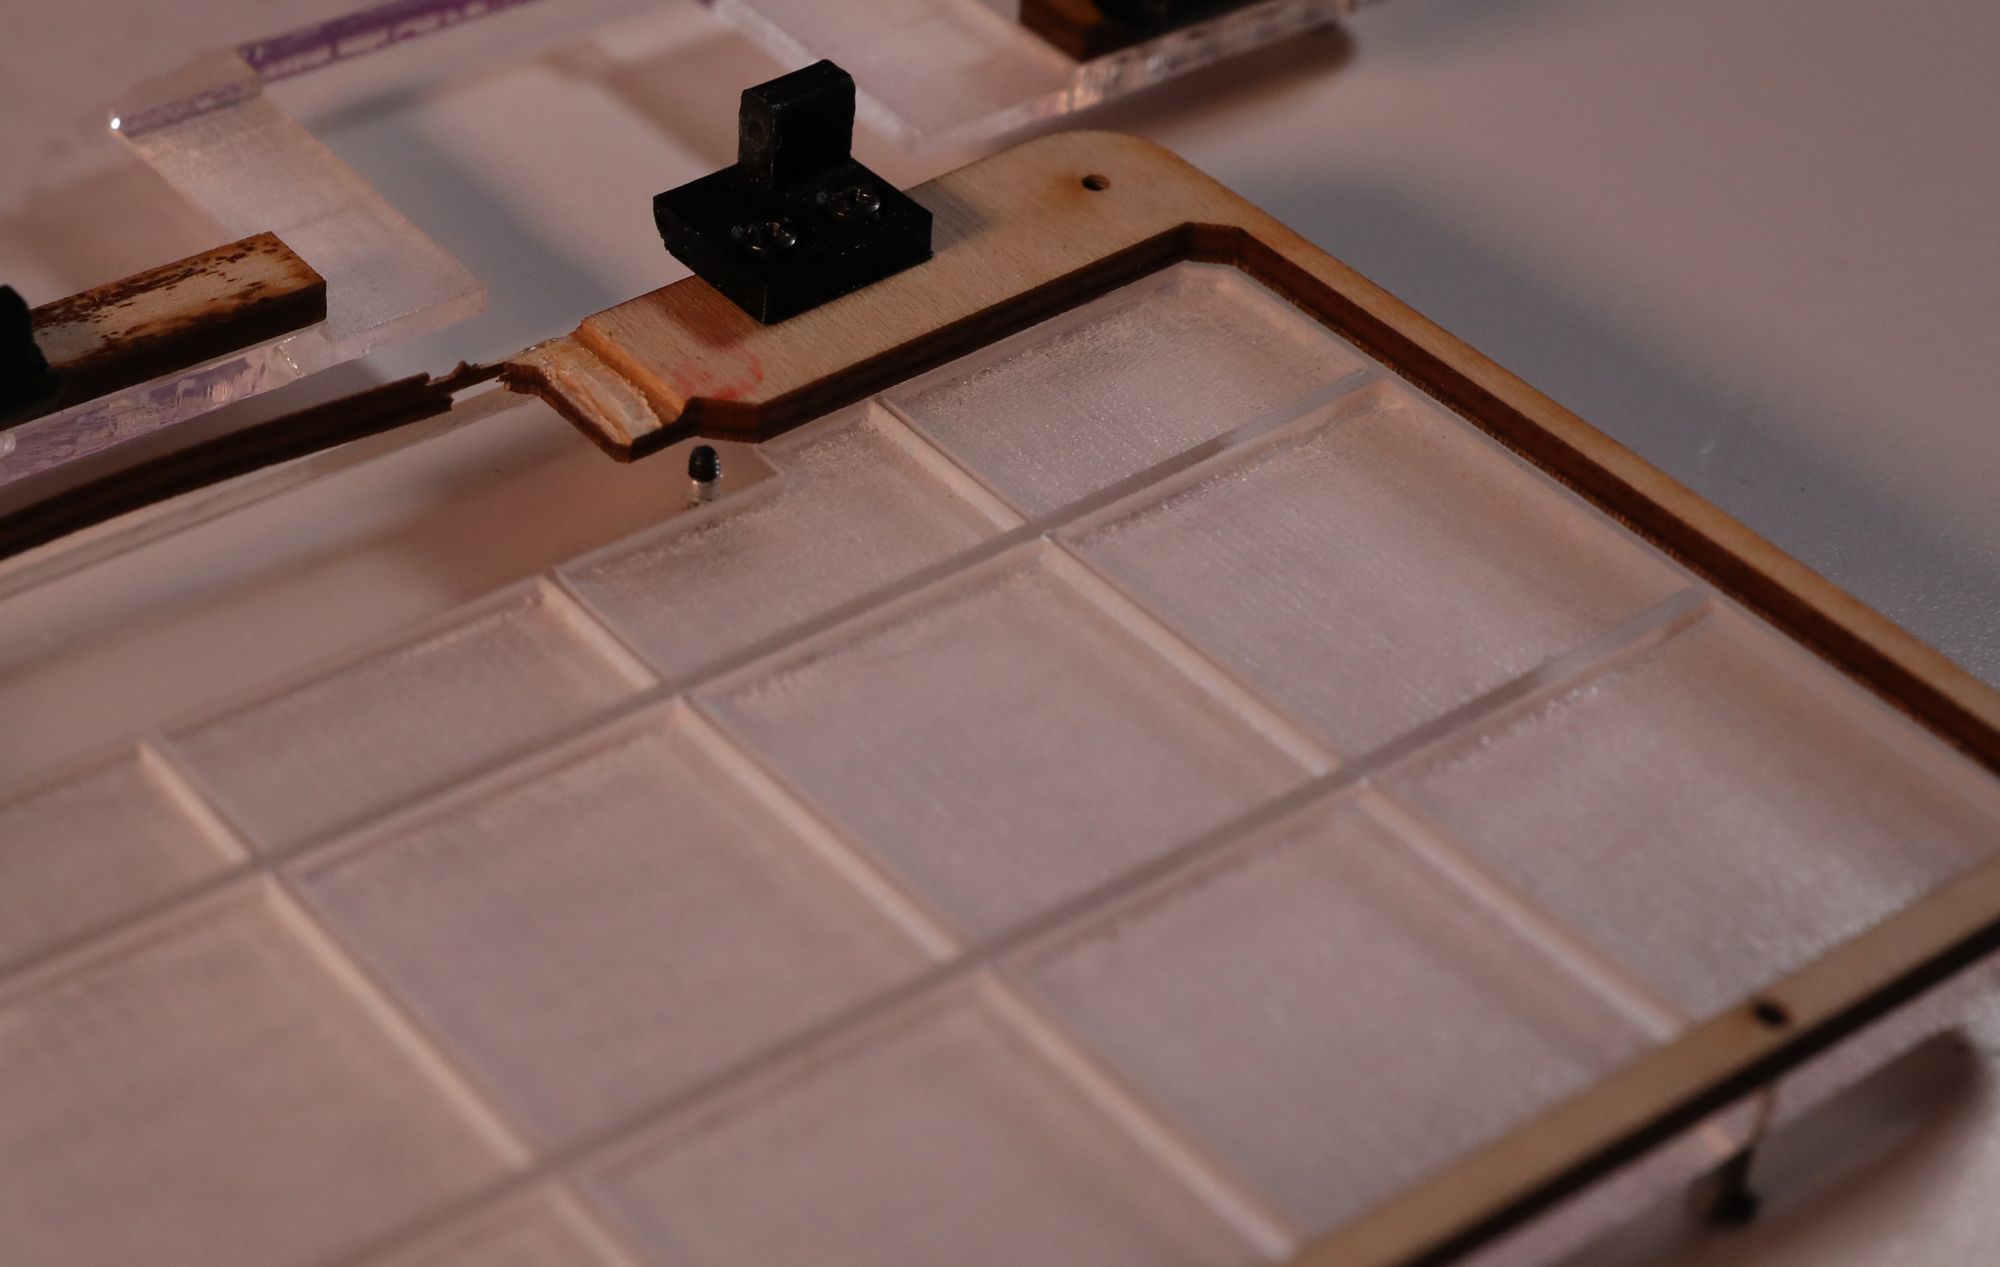
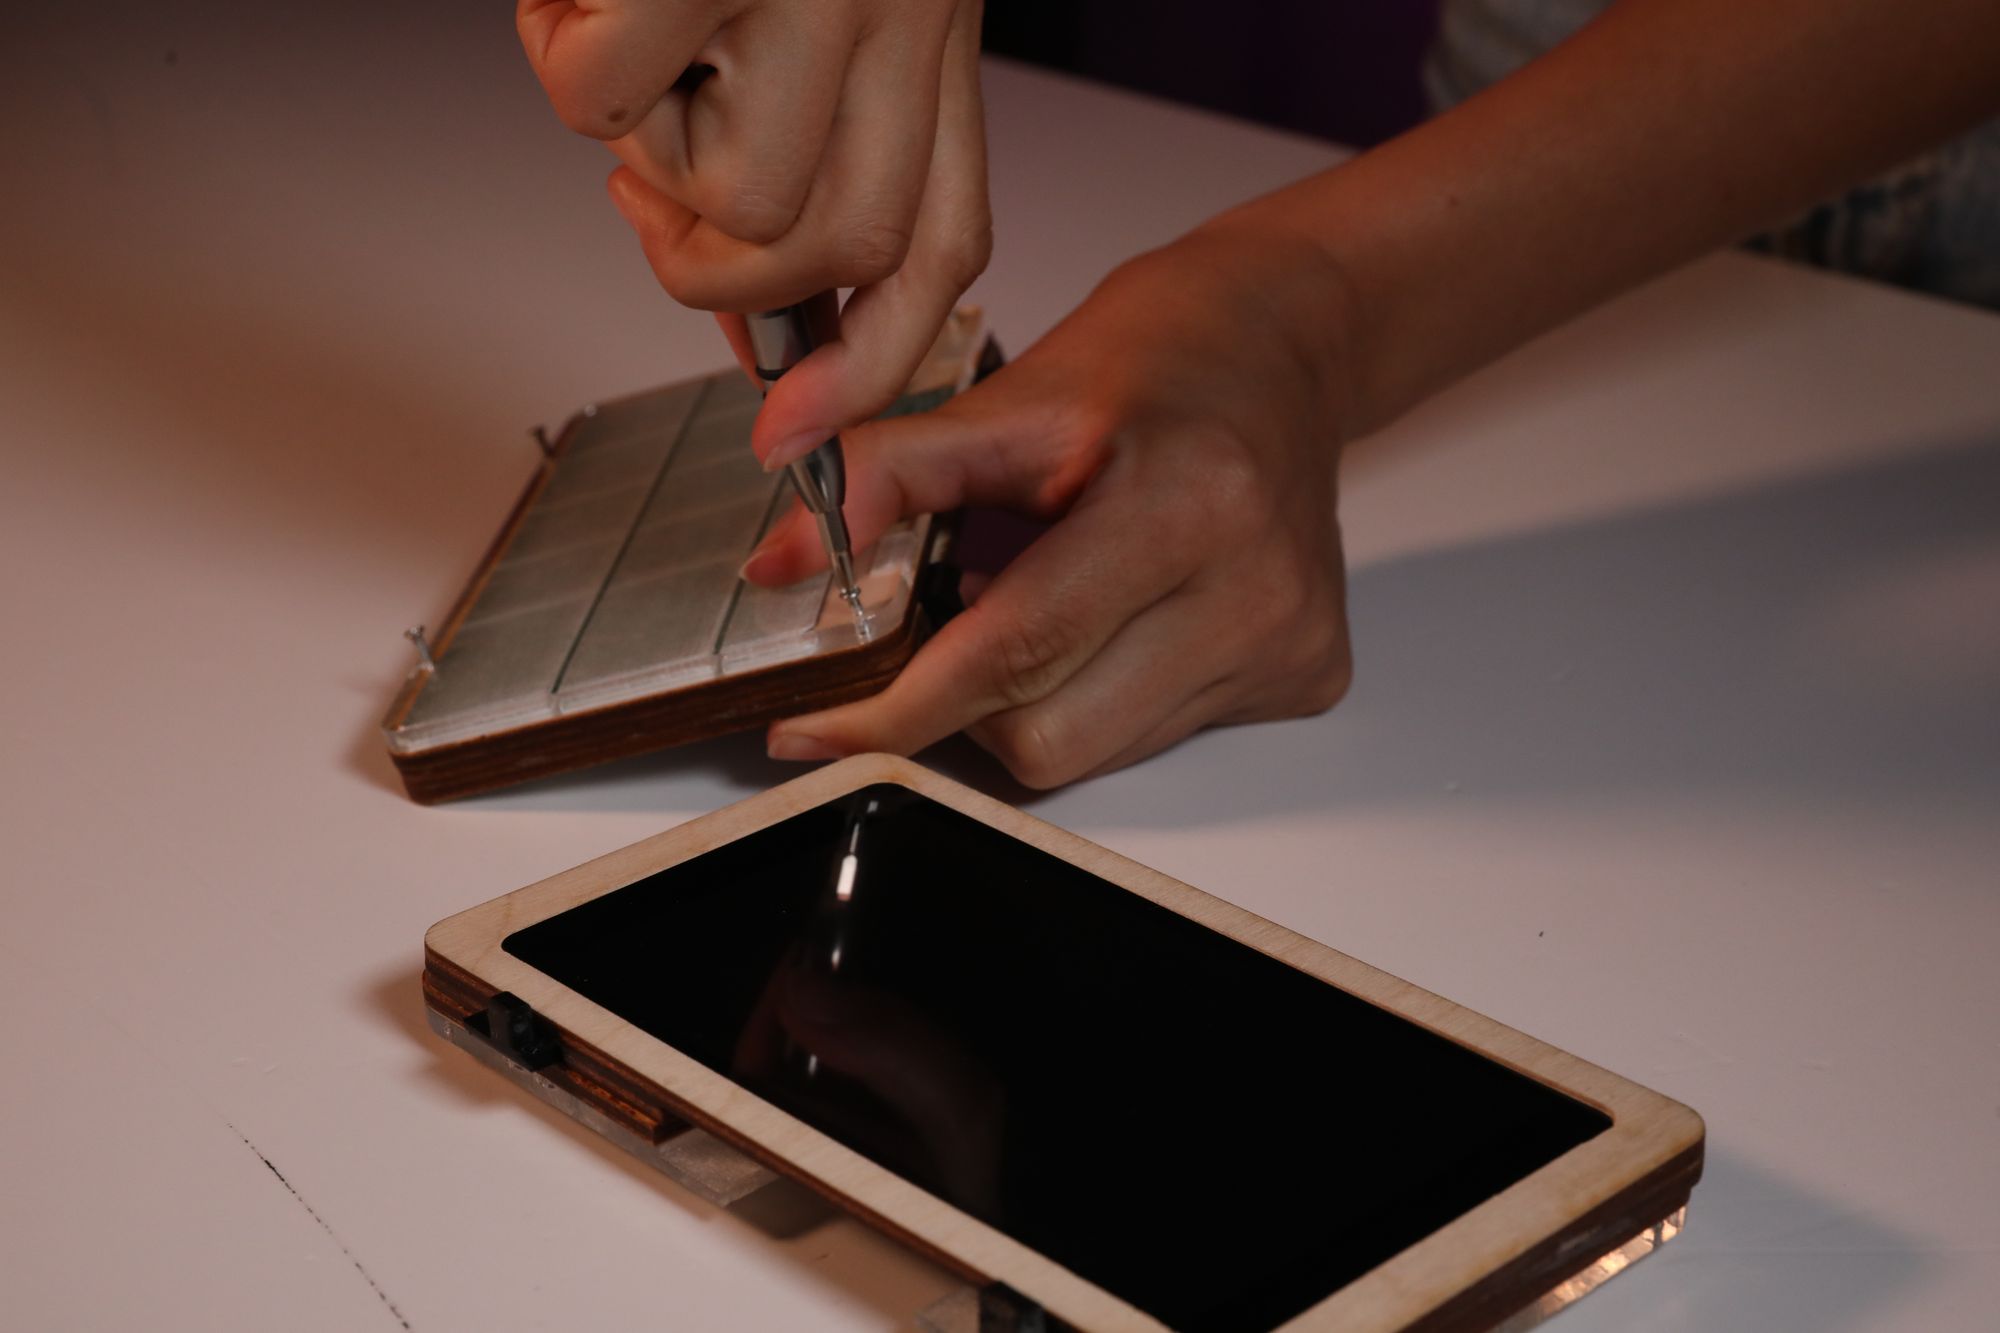
Hinges
The hinges are FDM 3D printed with PLA in black. 20mm M2 screws connect the two parts of the hinges and also act as rotating axes, which works surprisingly well. The angle of inclination of the display can be adjusted by tightening the screws.
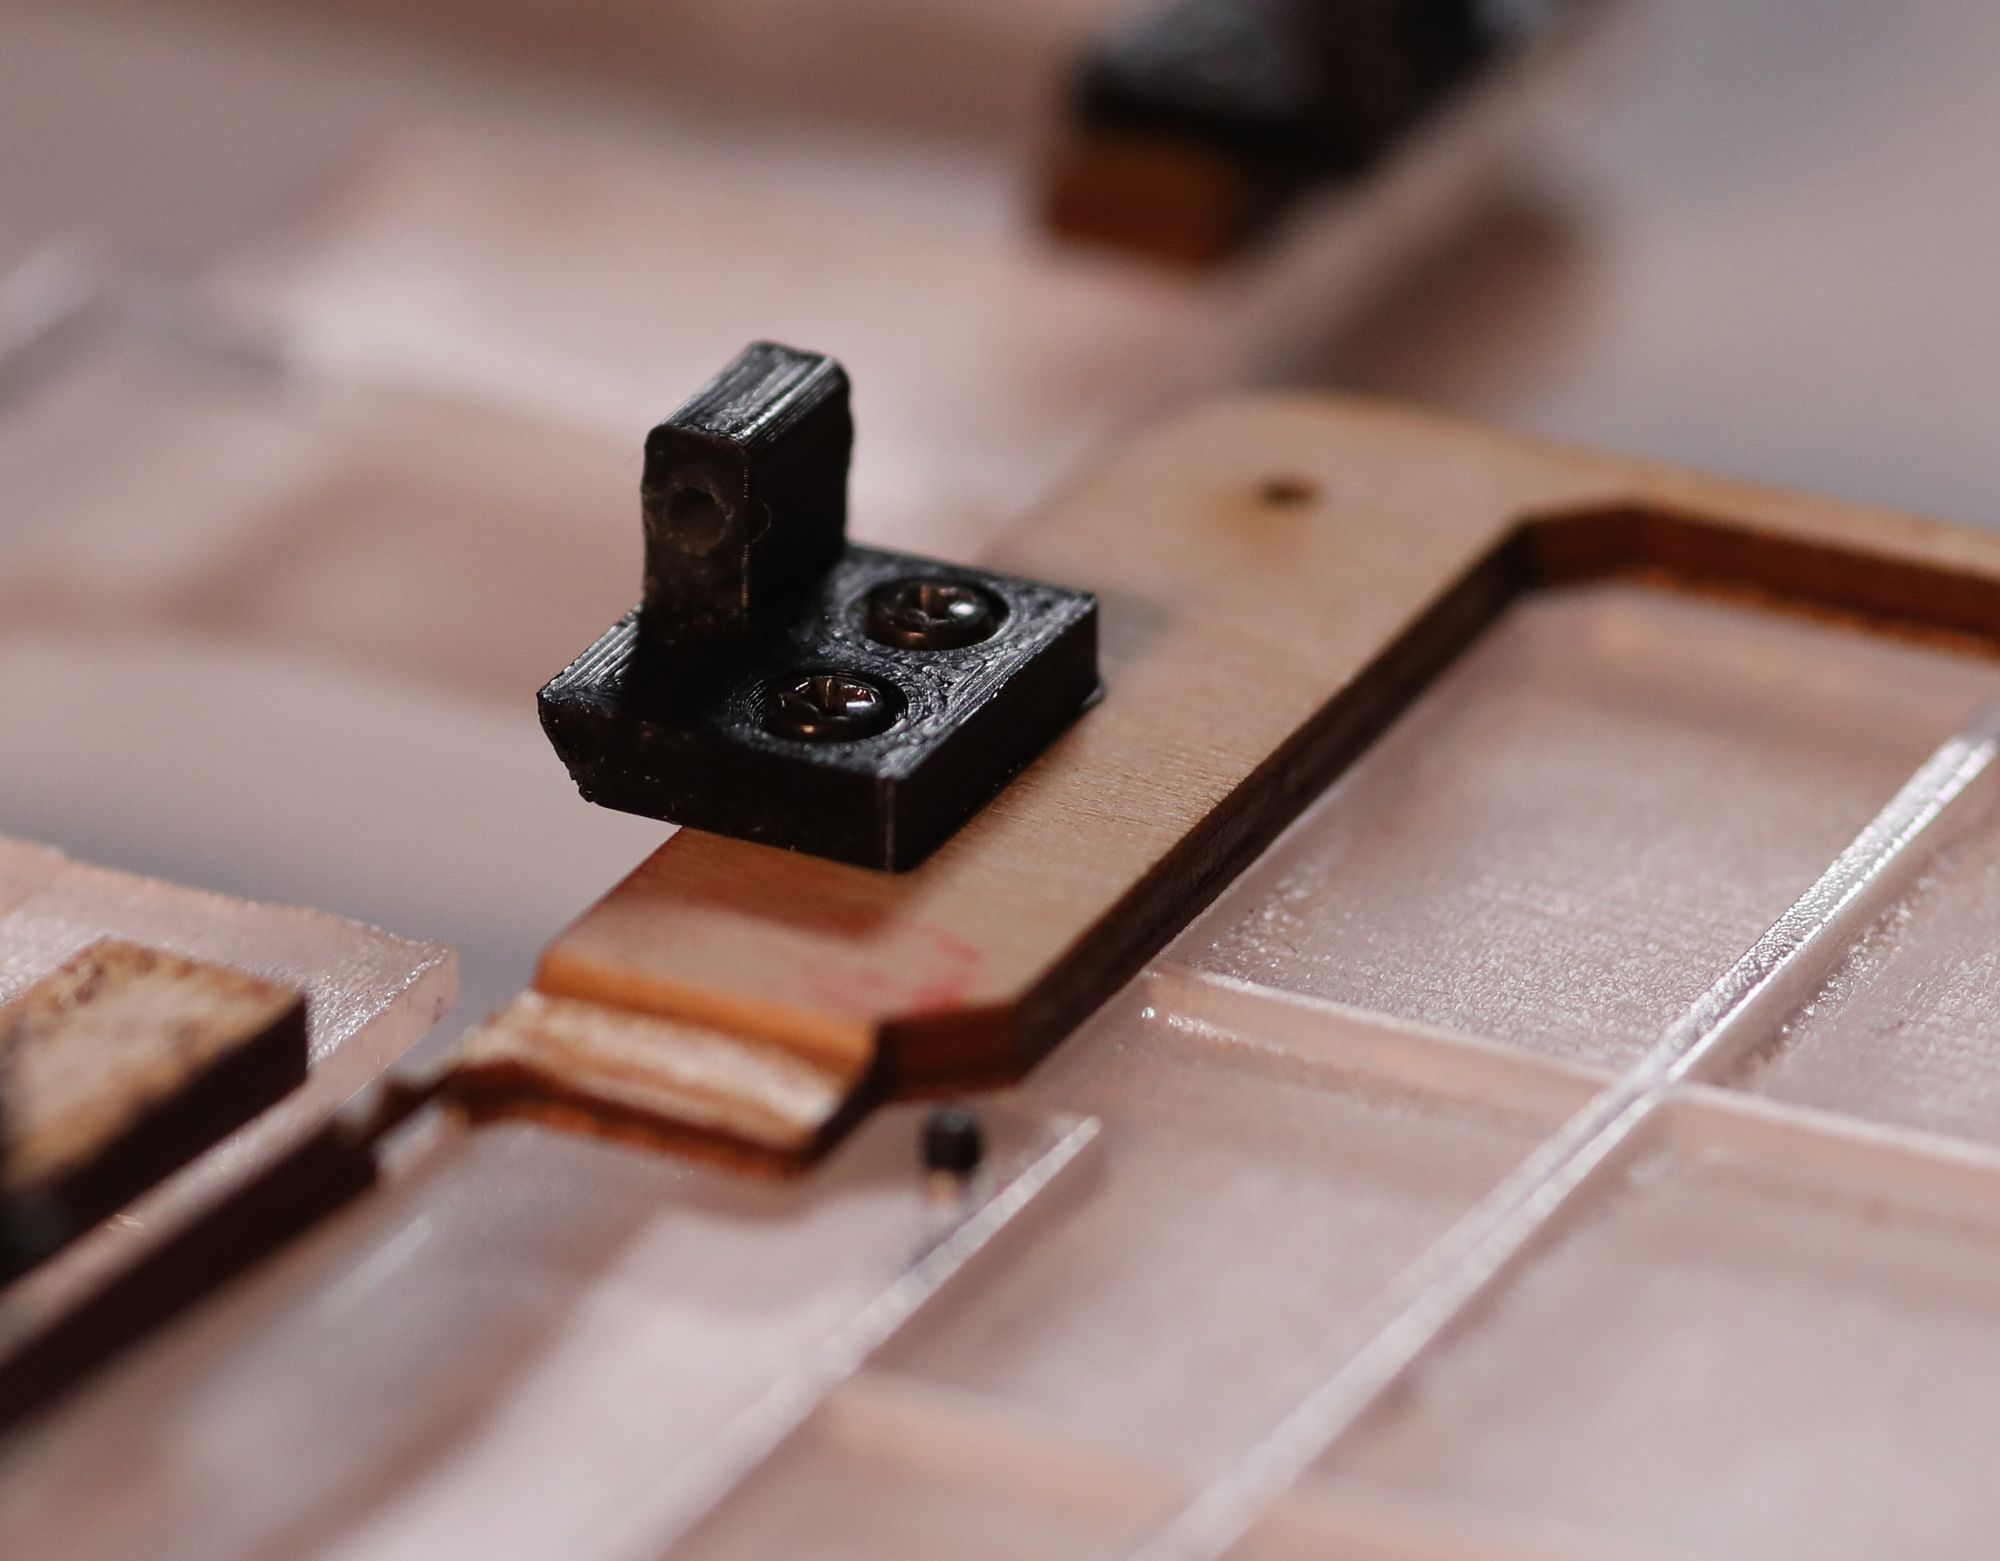
In order to connect all the layers and to have a long-lasting screw thread, we glued a nut onto the last layer and connected it to the screw of the first layer to press everything together.
Now our semi-functional prototype is working and ready to test.
We're curious what to find out.